I was asked to find a Christmas craft to demonstrate for the ladies at a holiday luncheon.
Since everyone is so different, I decided that maybe 10 crafts would be better.
The odds of one of them piquing someones interest are greater.
So, with help from Pinterest, here are 10 ideas
I tried with reasonable success:
1. Dry Erase 'Notepads'
-Remove glass, spray paint frame of a Dollar Store 5x7 frame
-When dry, reassemble frame with a ‘shopping’ or ‘note’ sheet in place of a photo.
-Decorate edges as desired
-Attach a dry erase marker for a simple gift,
can be used in the kitchen for shopping list or by bedside for notes.
2. Personalized Plate or Mug
-Decorate a Dollar Store mug or plate with a Sharpie pen in desired design/pattern.
-Place in a 350 degree oven for 30 minutes to set the ink.
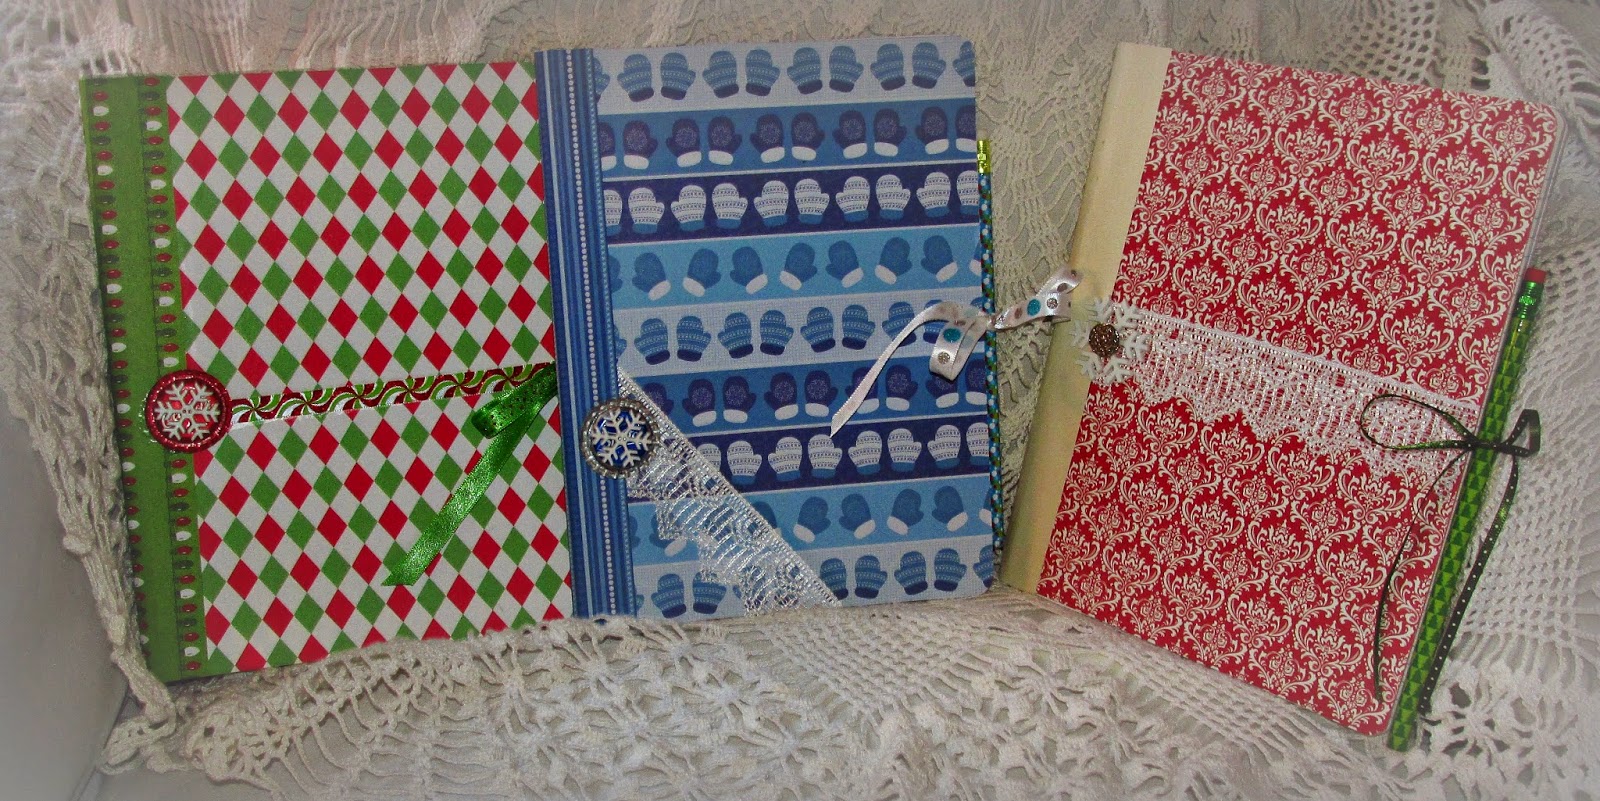
3. Decorated Journals
-Start with an economy composition book
-Using the plain side of pretty scrapbook paper, trace around cover of book, front and back. Then on inside front and back. Cut out pattern you’ve just traced.
-Glue (stick or school) a complementing ribbon across inside cover front and back for a tie, then cover with the paper you cut. Glue cover on front and back, cut a strip to cover the binding if desired.
-Embellish as desired with lace, buttons, gems etc., using tacky glue or hot glue for best hold.
-Give with a pretty pen or pencil.
4. Button Bookmarks
-Use tacky or hot glue to attach big pretty buttons to super size paper clips
-Cut a small piece of felt or paper to press on the other side of paper clip/button to hold it in place with the glue.
5. Teacup Candles
-With super glue or E6000, adhere a teacup or tea mug to its saucer.
-Affix a wick to bottom center (double sided foam tape is best)
-Melt and pour hot wax to fill and let set up. Soy wax is best.
-Tie a pretty ribbon round the base or lay fresh greens and berries around.
6. Circle or Star Paper Ornaments
-Cut out stars or circles. Here are printables for circles and stars or cut your own from festive scrapbook paper.
-fold down center
-Glue or tape 3 or 5 folded stars or 4-6 folded circles
-Thread a cord through center and slide beads on either end.
-Tie a knot on bottom
-Tie a loop on top to hang.
7. Snow Scene Jars
-In any clean, dry jar arrange a bit of faux snow
-Take a small snowy tree (add a little glitter glue if you like) and place in snow
-Drop in tiny cedar cones, bells, other miniature items for your scene
-Wrap ribbon, lace or a strip of burlap to top of jar.
-Spray a little glitter or fake snow as desired.
8. Village Scene Jar
-You will need a good size wide jar with smooth sides, like from pickles
cut out scene using black cardtock, wrap around jar or
put template temporarily inside jar and carefully paint 2 coats using acrylic craft paint and a small brush.
-Allow to dry, spray a little fake snow around top of jar.
-Place a real or LED candle inside and enjoy the lovely scene.
9. Gift Tubes
-Cut scrapbook paper or cardstock into 7 x 4 inch rectangles
-Roll each into cylinders and tape seam with scotch tape then cover with washi tape
-Flatten one end of cylinder and seal with scotch then washi tape
-Fill partway with a tiny gift and candy
-Flatten open end the opposite way and tape closed with more scotch then washi tape
-Decorate with stickers if desired.
10. Scrappy Felt Keyfobs
-Cut out 2 felt circles with pinking shears
-Stitch a felt initial applique or buttons to the top piece if desired
-Cut a 2 inch piece of ribbon, fold in half and pin between the circles at the edge with a loop sticking out.
-Stitch around the circle making sure the loop get secure
-Attach a key ring.